Building an Orlandoo Hunter OH32A03 - Putting it All Together

This build series is sponsored by RCMart.com.
We’re here. The home stretch. The final lap. The last mile. However you want to phrase it, the Orlandoo Hunter OH32A03 build is coming to an end. Throughout the entire process, I’ve been challenged by this build but it’s also been a fun process. The last segment of construction blended traditional R/C kit building with a splash of plastic model construction. As far as projects go, this one had it all.
After wrapping up the paint job on the OH32A03, I began to apply the various body details and accessories, including the grille, headlight bezels, door handles, and rear lights. Installation of these items was fairly uneventful, however, I did encounter a few pieces that needed to be coerced into place. I also reacquainted myself with the joy that is modeling glue. While it’s more forgiving than a quick-drying Super Glue, it takes a bit longer to set, resulting in a few knocked off accessories (mixed with a few cross words).
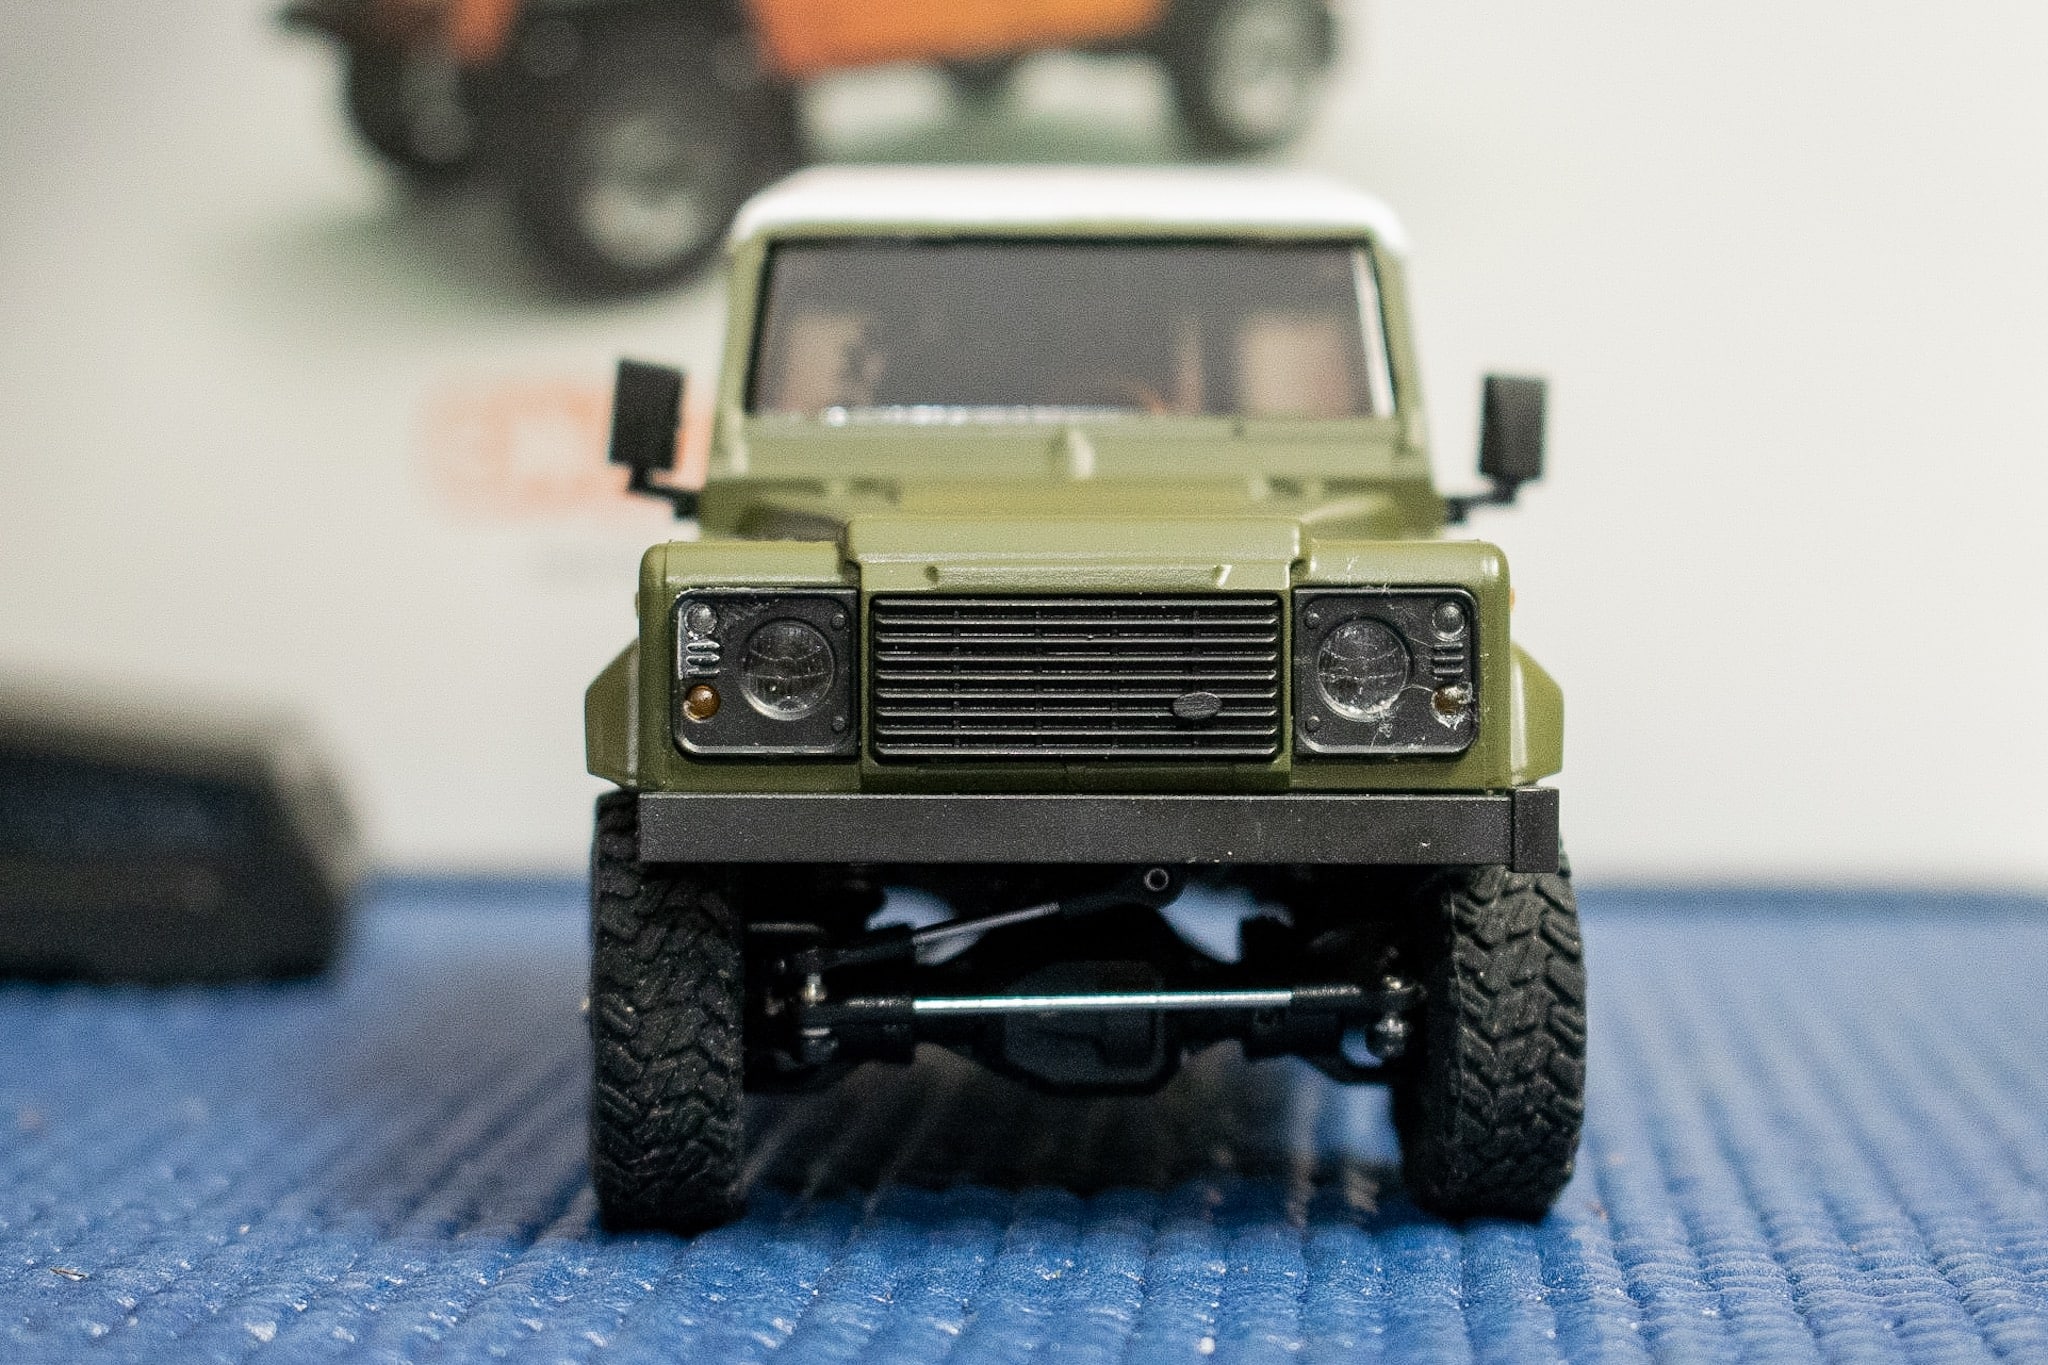
The only major casualty of my accessory installation was the driver's door handle. While putting it in place, it snapped in half, sending one piece flying to the table and the other...I don't know where. Mark this down as another 3D printer project.
After the remainder of the pieces were in place, I assembled the wheels and tires, which include some rather large tire foams. The foams are stuffed into the tires, leaving barely enough room to fit the wheel through. With a little coaxing, these were put in place and then mount to the axels.
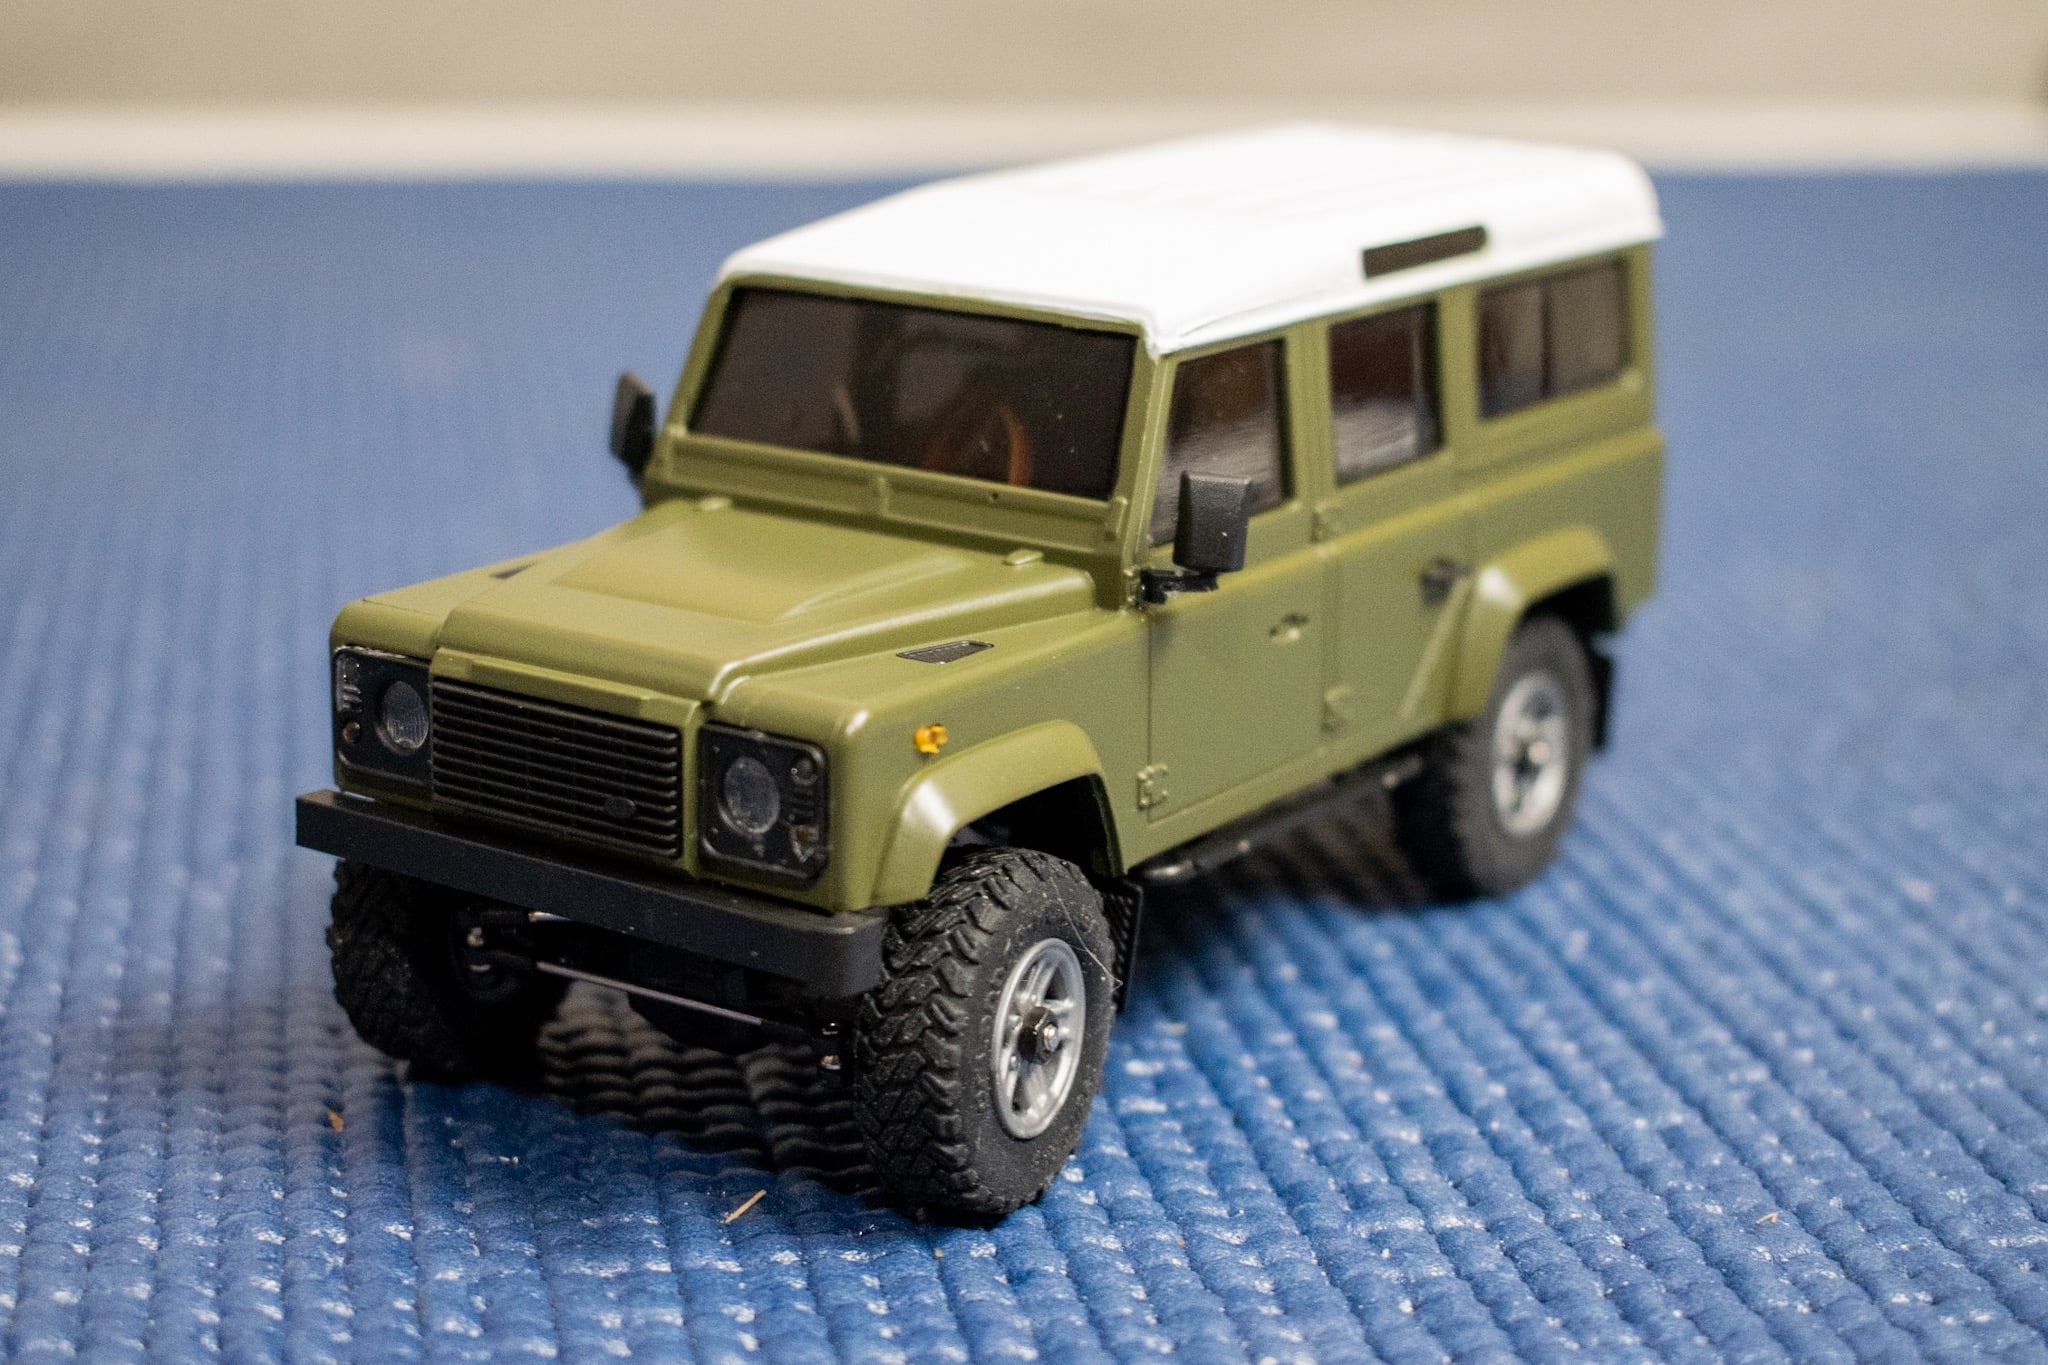
While not specified in the manual (from what I could tell) these tires don’t need to be glued to the wheels, but you might want to consider this if you encounter them slipping off the rim. I’ve had a few instances of this, however, I’m going to keep them unglued for the time being.
Now that the vehicle itself is complete, it’s time to give this machine a heartbeat. The D4L electronics kit from Orlandoo Hunter is quite robust, providing not only an all-in-one ESC and receiver, but also a trigger-style transmitter, LED lights, wire leads, and a speaker. I put all of these items to work, save for the LED lights. I may throw those into the build down the road, but for now, I want to keep this build basic.
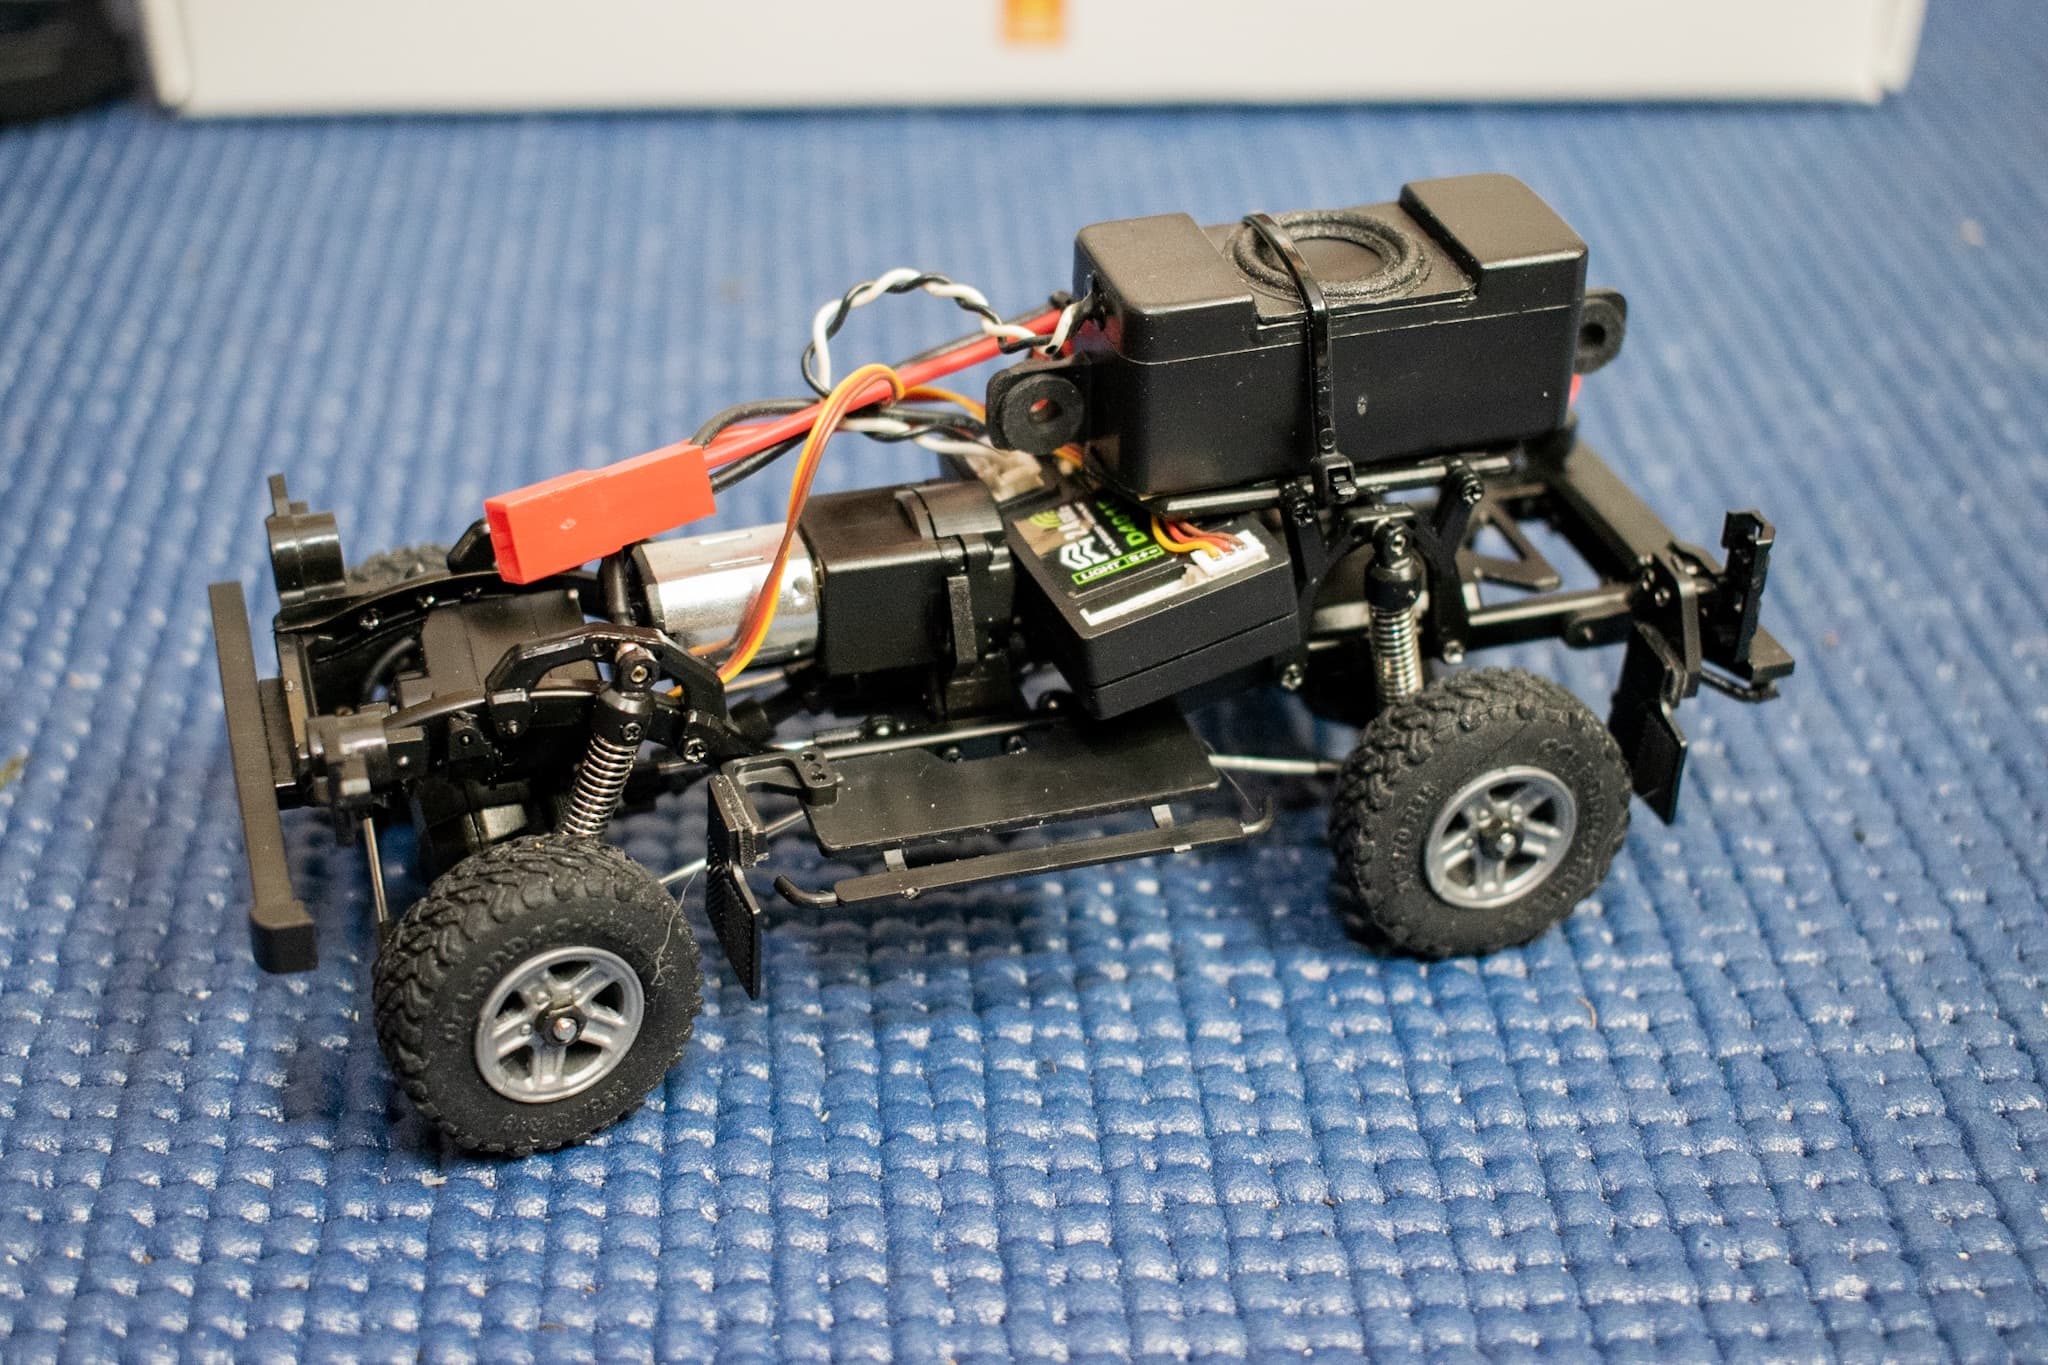
My curiosity did get the better of me and I plugged in the speaker unit, just to see how it worked.
Given the small size of the model, space is tight, and I can already tell that I’m tempting fate with the speaker. Still, it’s too cool to have sitting in my parts bin, so I’ll find a way to make it work.
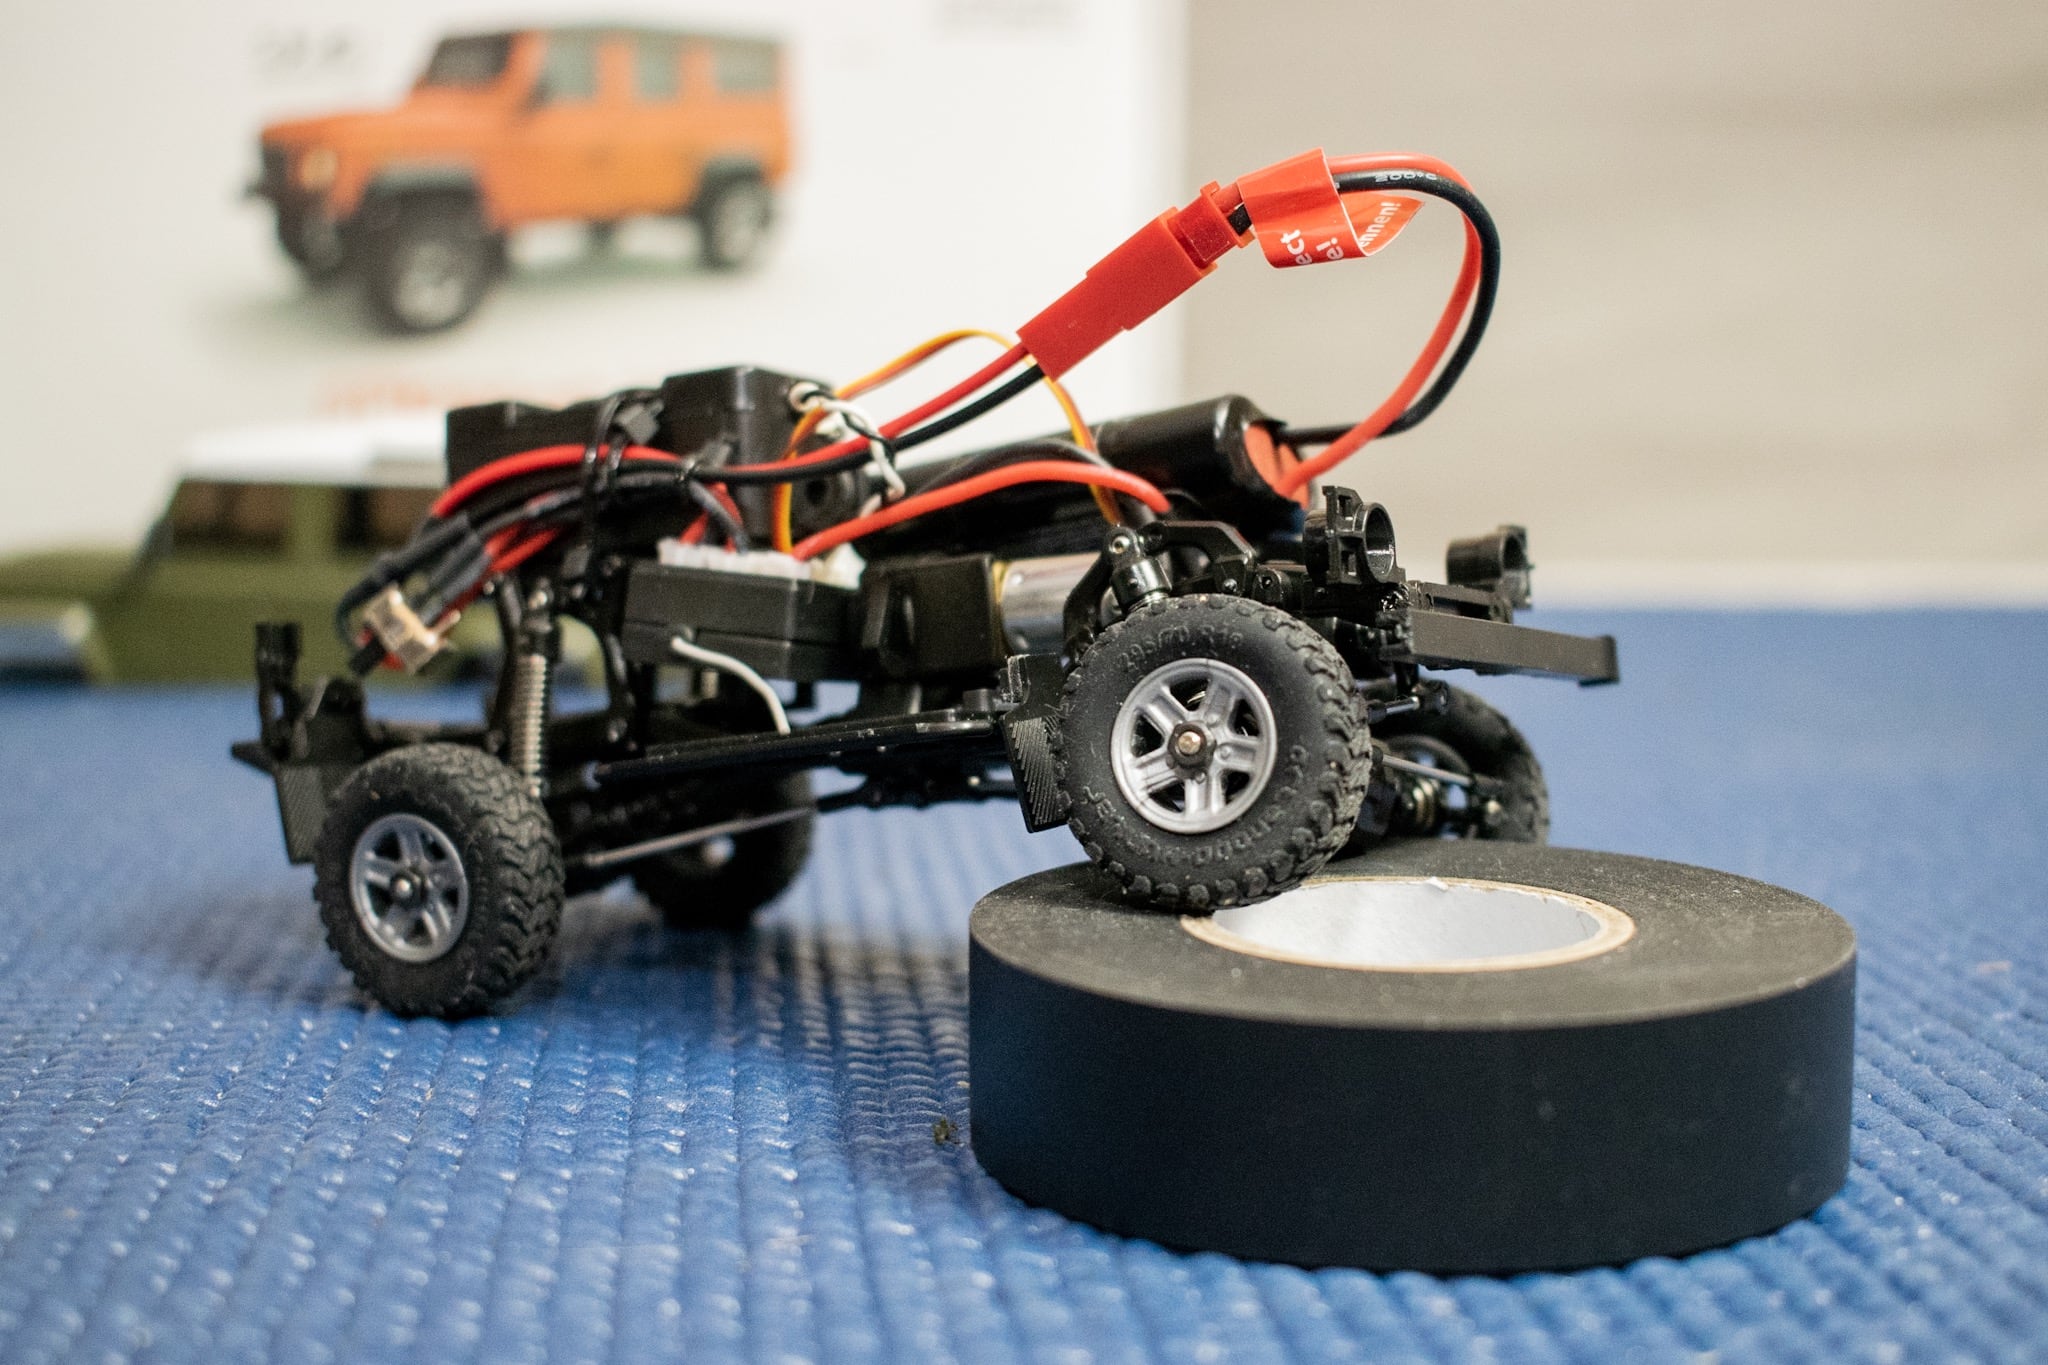
With the electronics set up and powered on, it was time to fire the rig up and make sure everything worked. After a flick of the power switch, I quickly learned that I had steering response, but throttle response was nowhere to be seen. After a few more flicks of the power switch, disconnecting and reconnecting the battery, and switching the unit off and on yet again, I suddenly had forward motion. And just like that...it was gone.
On a hunch, I turned up the volume knob on the transmitter and held the throttle trigger down. After a second, I could hear the crank of an engine, followed by its rough, stumbling idle. At that point, I had motion again. While not conventional, I’ve found the startup procedure of the OH32A03 to be quite entertaining.
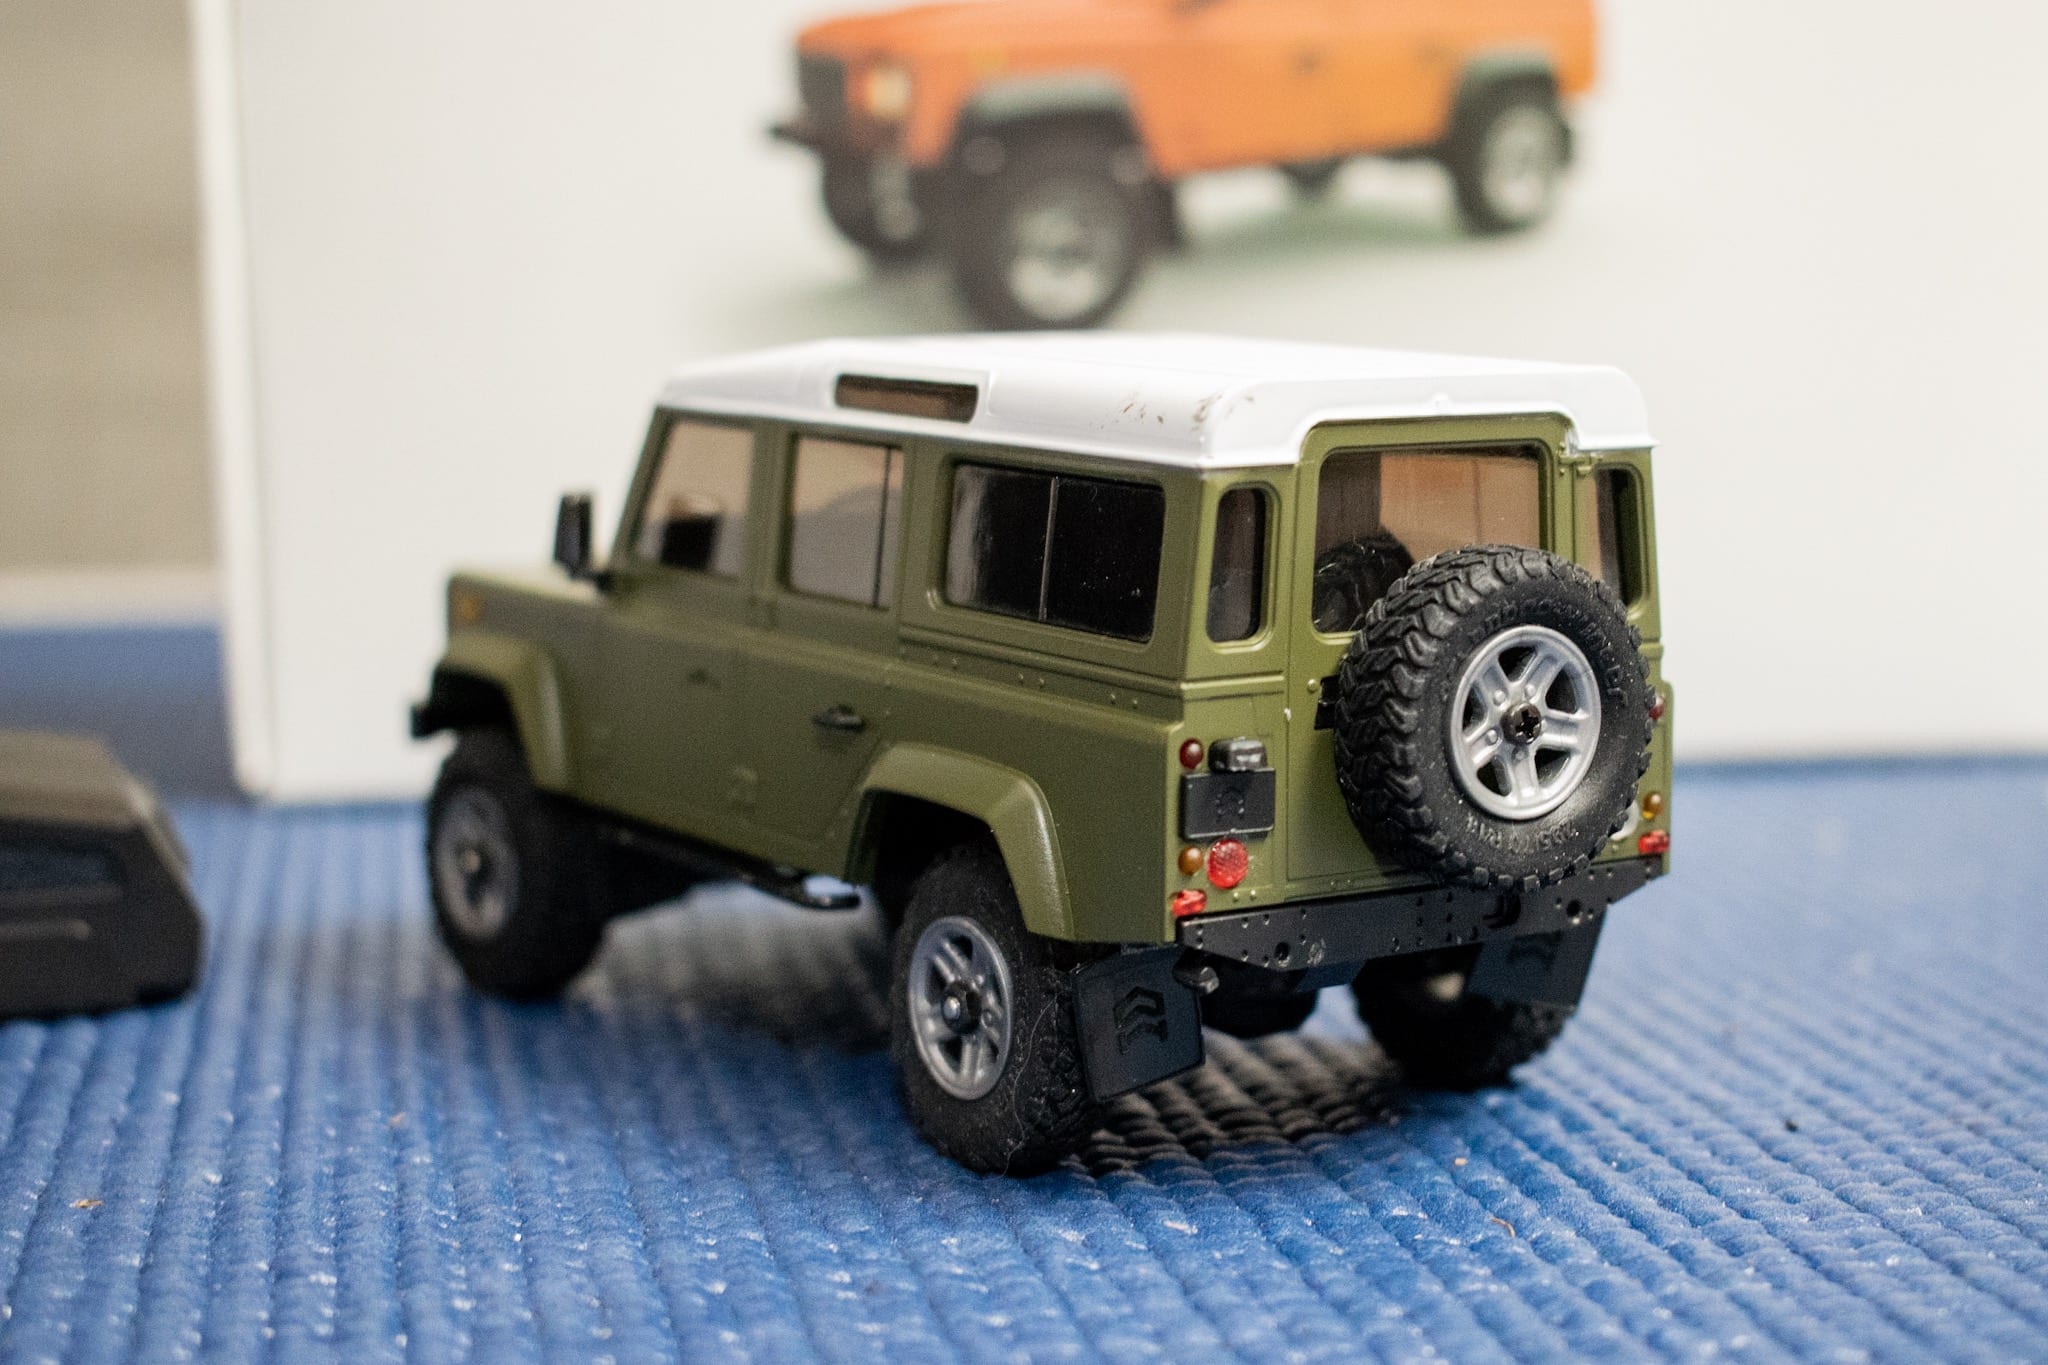
Whether this is a product of the speaker unit remains to be seen, but at least I know how to power the vehicle up and get it motoring. With it in motion, I discovered that the cracked/split suspension link mount that occurred earlier on in the build had become a major problem. Instead of a complete turning radius, the entire axle moves when turning to the left. Bummer.
I have a few fixes in mind to cure this, but for the moment, I’m going to run this rig as-is and see how it handles. As far as motor performance, the 200 rpm motor is very slow, but that lack of speed brings an impressive amount of torque. I’m able to easily drive up and over a few small obstacles that I have laying around my workspace, making this a definite desktop explorer.
Now that this project is complete, I’m preparing to take it on a variety of indoor expeditions. Though challenging at times, the build experience for this model has been quite fun overall.
Follow along with our Orlandoo Hunter OH32A03 build:

