Building an Orlandoo Hunter OH32A03 - Motor Mounting and Chassis Assembly

This build series is sponsored by RCMart.com.
Every R/C build brings new adventures and opportunities with every new bag. With the axles and suspension links assembled on our Orlandoo Hunter OH32A03 kit, it’s now time to build the heart and soul of this small-scale R/C crawler; the transmission and chassis.
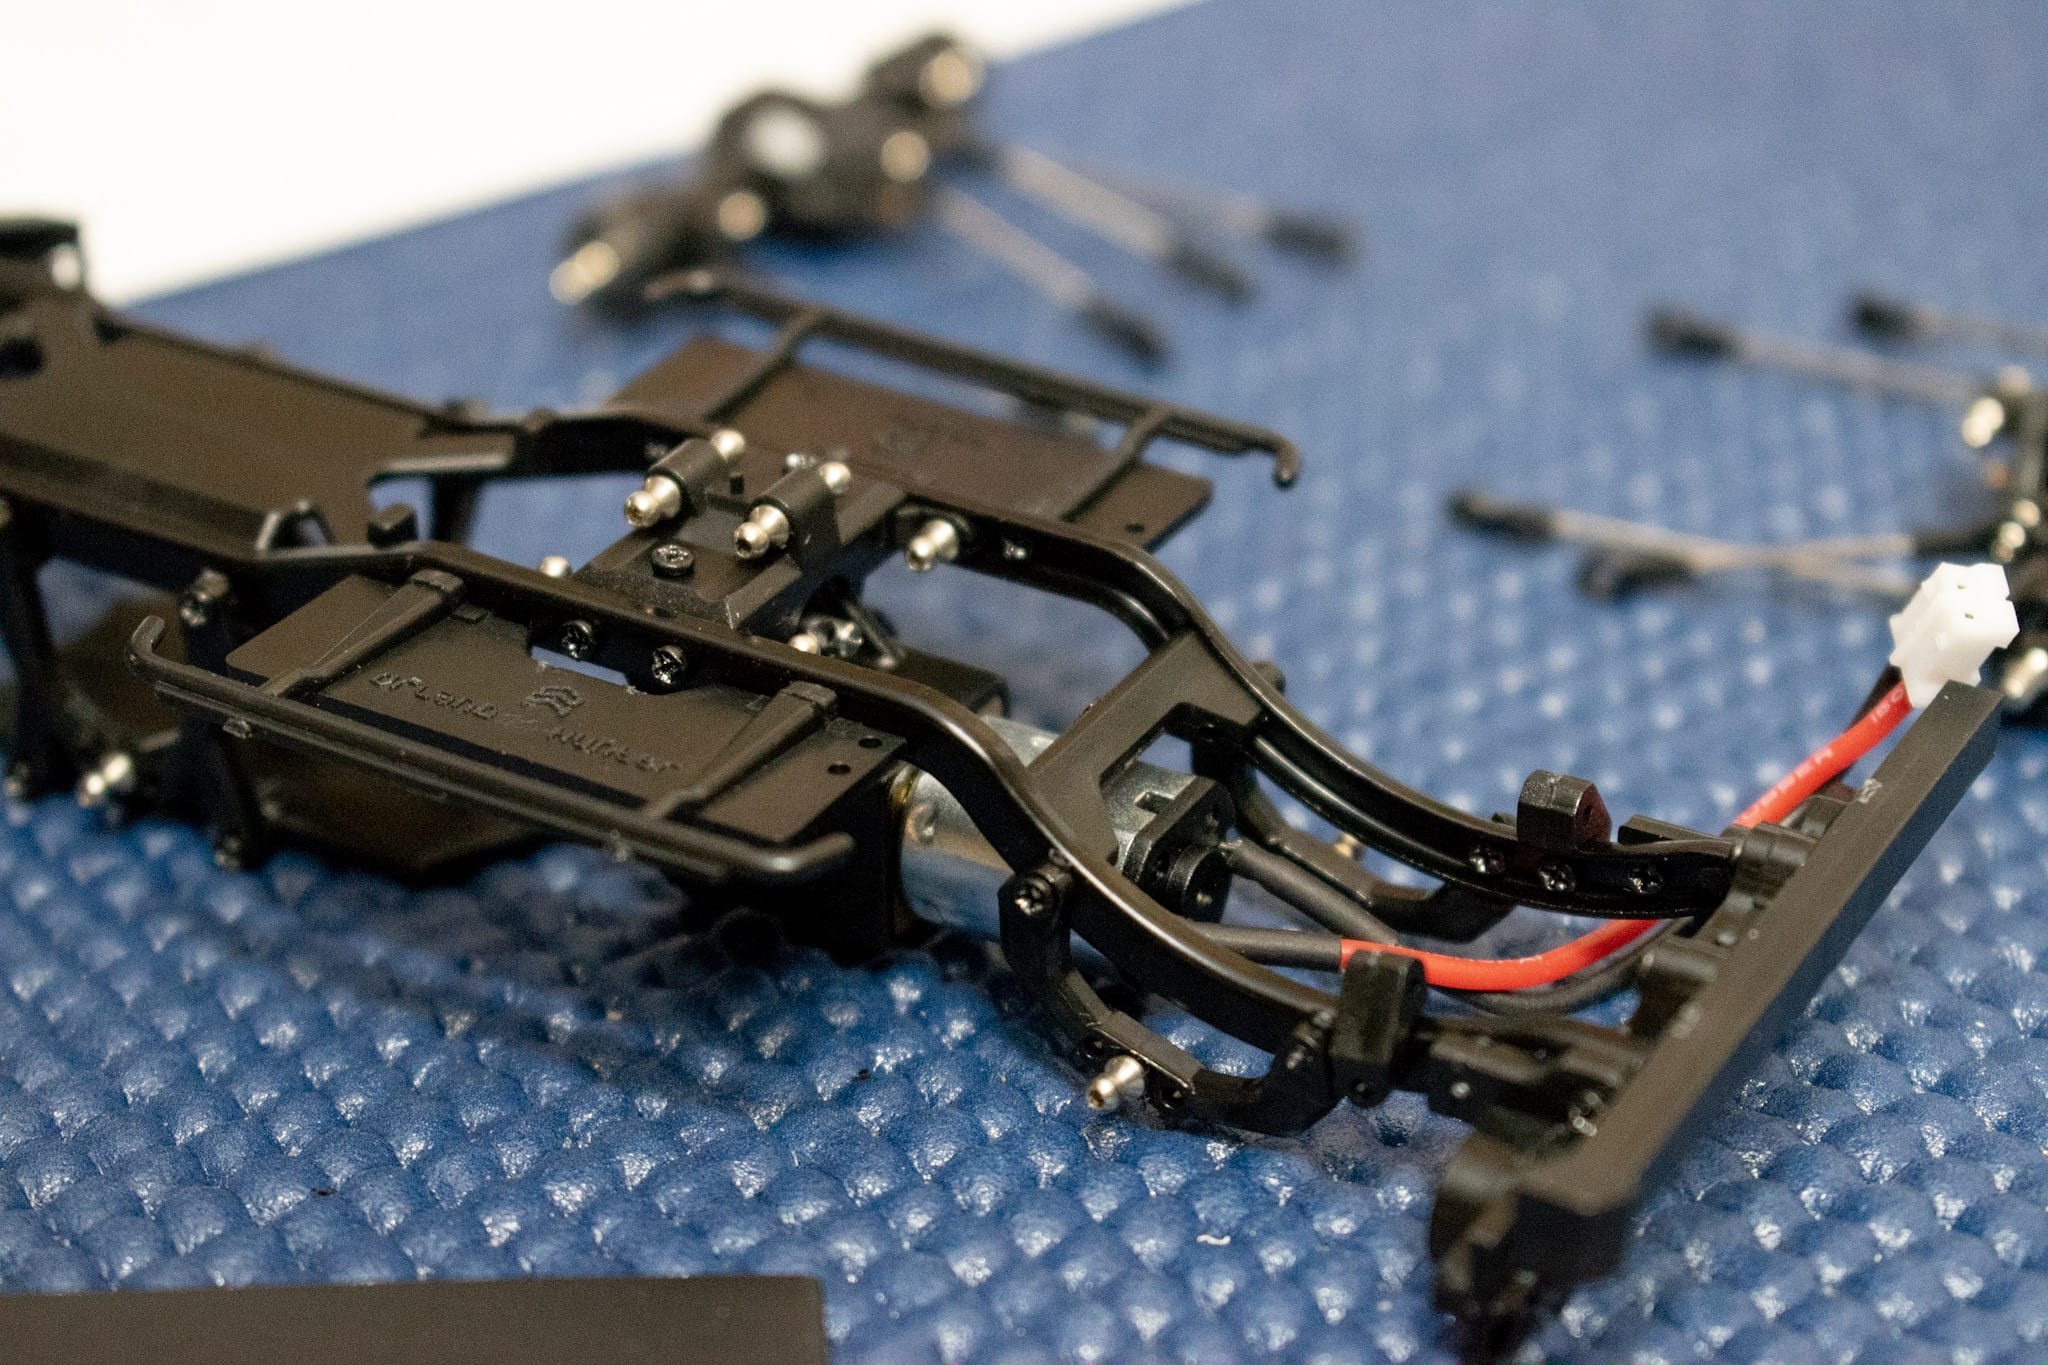
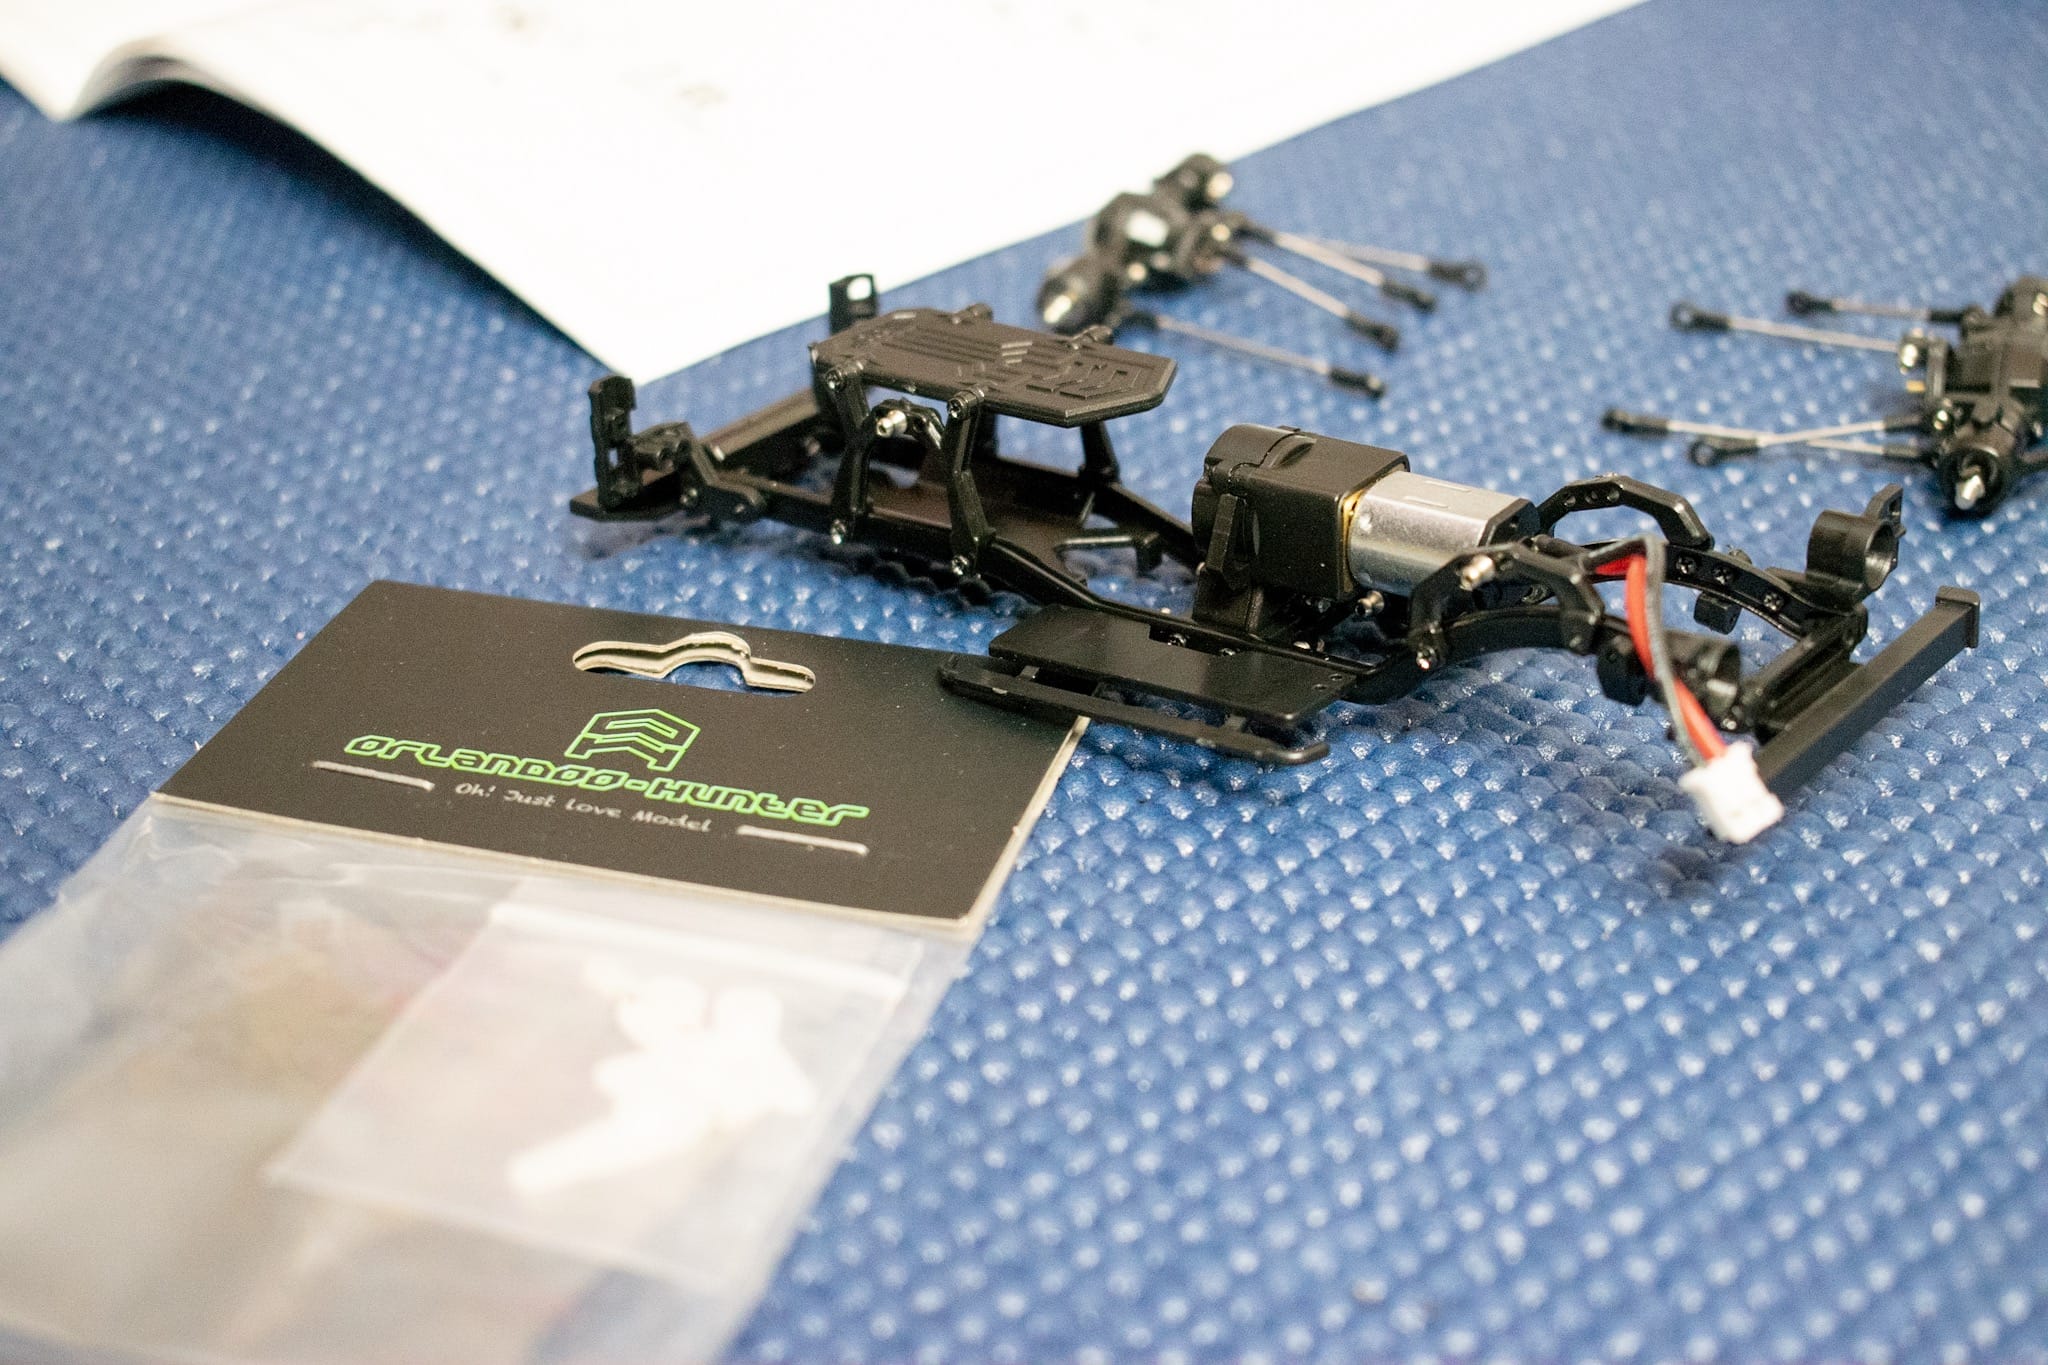
The OH32A03 transmission is positioned toward the front of the chassis and features metal gears within the transmission. Mounting the motor is a fairly straightforward task, even with this rig’s 1/32-scale sizing. Once you have your motor mounted and the transmission case assembled, it’s time to turn your attention to the chassis.

The layout of the OH32A03 chassis is very similar to that of 1/10-scale radio-controlled rock crawlers. Utilizing a ladder frame with metal rails, the chassis structure is quite rigid despite the small size of this particular model. To begin assembling the chassis, attach the front and rear LED light buckets and shock towers.
If you plan on installing LEDs into your rig, this is the time to do it...unless you’re me. While I have LED lights for this model (included in the D4L transmitter/receiver/ESC package), I’m opting to install them at a later date.

Once the left and right frame rails have been assembled, you’ll need to insert a few more ball-end screws into the central skid plate. As with before, 2-3 turns with a body reamer can help the installation of this hardware go much smoother. Also, be careful with how much pressure you’re applying while turning in these screws. I thought I was applying the “normal” amount of pressure (when compared to the rest of my installation items), however, I ended up splitting one of the plastic mounting points on a suspension mount.
At this point, you can begin to attach the frame rails to the central skid plate and before you know it, you’ll start to see the OH32A03 start to take shape. Now that this section of the build is complete, you can turn your attention toward assembling the shocks, driveshafts, and painting the body.
Follow along with our Orlandoo Hunter OH32A03 build:

