A Pint-sized Project - Building an Orlandoo Hunter OH32A03

Taking on a true small-scale R/C kit.
This build series is sponsored by RCMart.com.
When it comes to small-scale R/C models, you don’t have to ask me twice if I’m interested in taking a closer look at them. That said, there are still a handful of vehicles that I’ve been hesitant with, including the subject of this build series.
The fleet of 1/32-scale radio-controlled kits that Orlandoo Hunter is producing appear to be the best of both worlds. The scale R/C arena is one that I’ve happily played in for quite some time and having an ultra-small-scale crawler to traverse the terrain of my desk would seem like a dream come true.

The Orlandoo Hunter models are both incredibly detailed and functional, bringing the fun of R/C scaler and crawler models to a much smaller space. While I’ve given a serious look at these kits in the past, I’ve never committed to assembling one. Until now.
The team at RCMart supplied me with an Orlandoo Hunter OH32A03 kit to assemble and share my experiences from. Where this kit offered up a few challenges, it certainly didn’t disappoint in its level of fun.

What You’ll Need to Complete an Orlandoo Hunter OH32A03 Kit:
- 1 Orlandoo Hunter OH32A03 1/32-scale Assembly Kit
- 1 D4L Radio/ESC Set
- 1 Orlandoo Hunter Micro Brushed Motor (various speeds to select from)
- 1 Orlandoo Hunter OH35A01 Low Voltage Digital Micro Servo
- Quick-drying glue/Super Glue
- Your choice of paint
- Patience

Once you’ve assembled all of those components, you’re ready to begin building. All of the tools that you’ll need to assemble the kit are included with the Orlandoo Hunter model, however, there are a few additional items that I’d suggest having on hand:
- Tweezers
- Needle-nose pliers
- R/C body scissors (or a small hand scissors)
- R/C body reamer
- Utility knife/hobby knife
- A pit/workstation mat
- A truckload of patience
I’ll explain how these additional items come into play throughout the build process. I’ve found that it’s better to have everything assembled ahead of time rather than hunting for items as you’re mid-assembly. Trust me, I speak from experience.

Let’s Build!
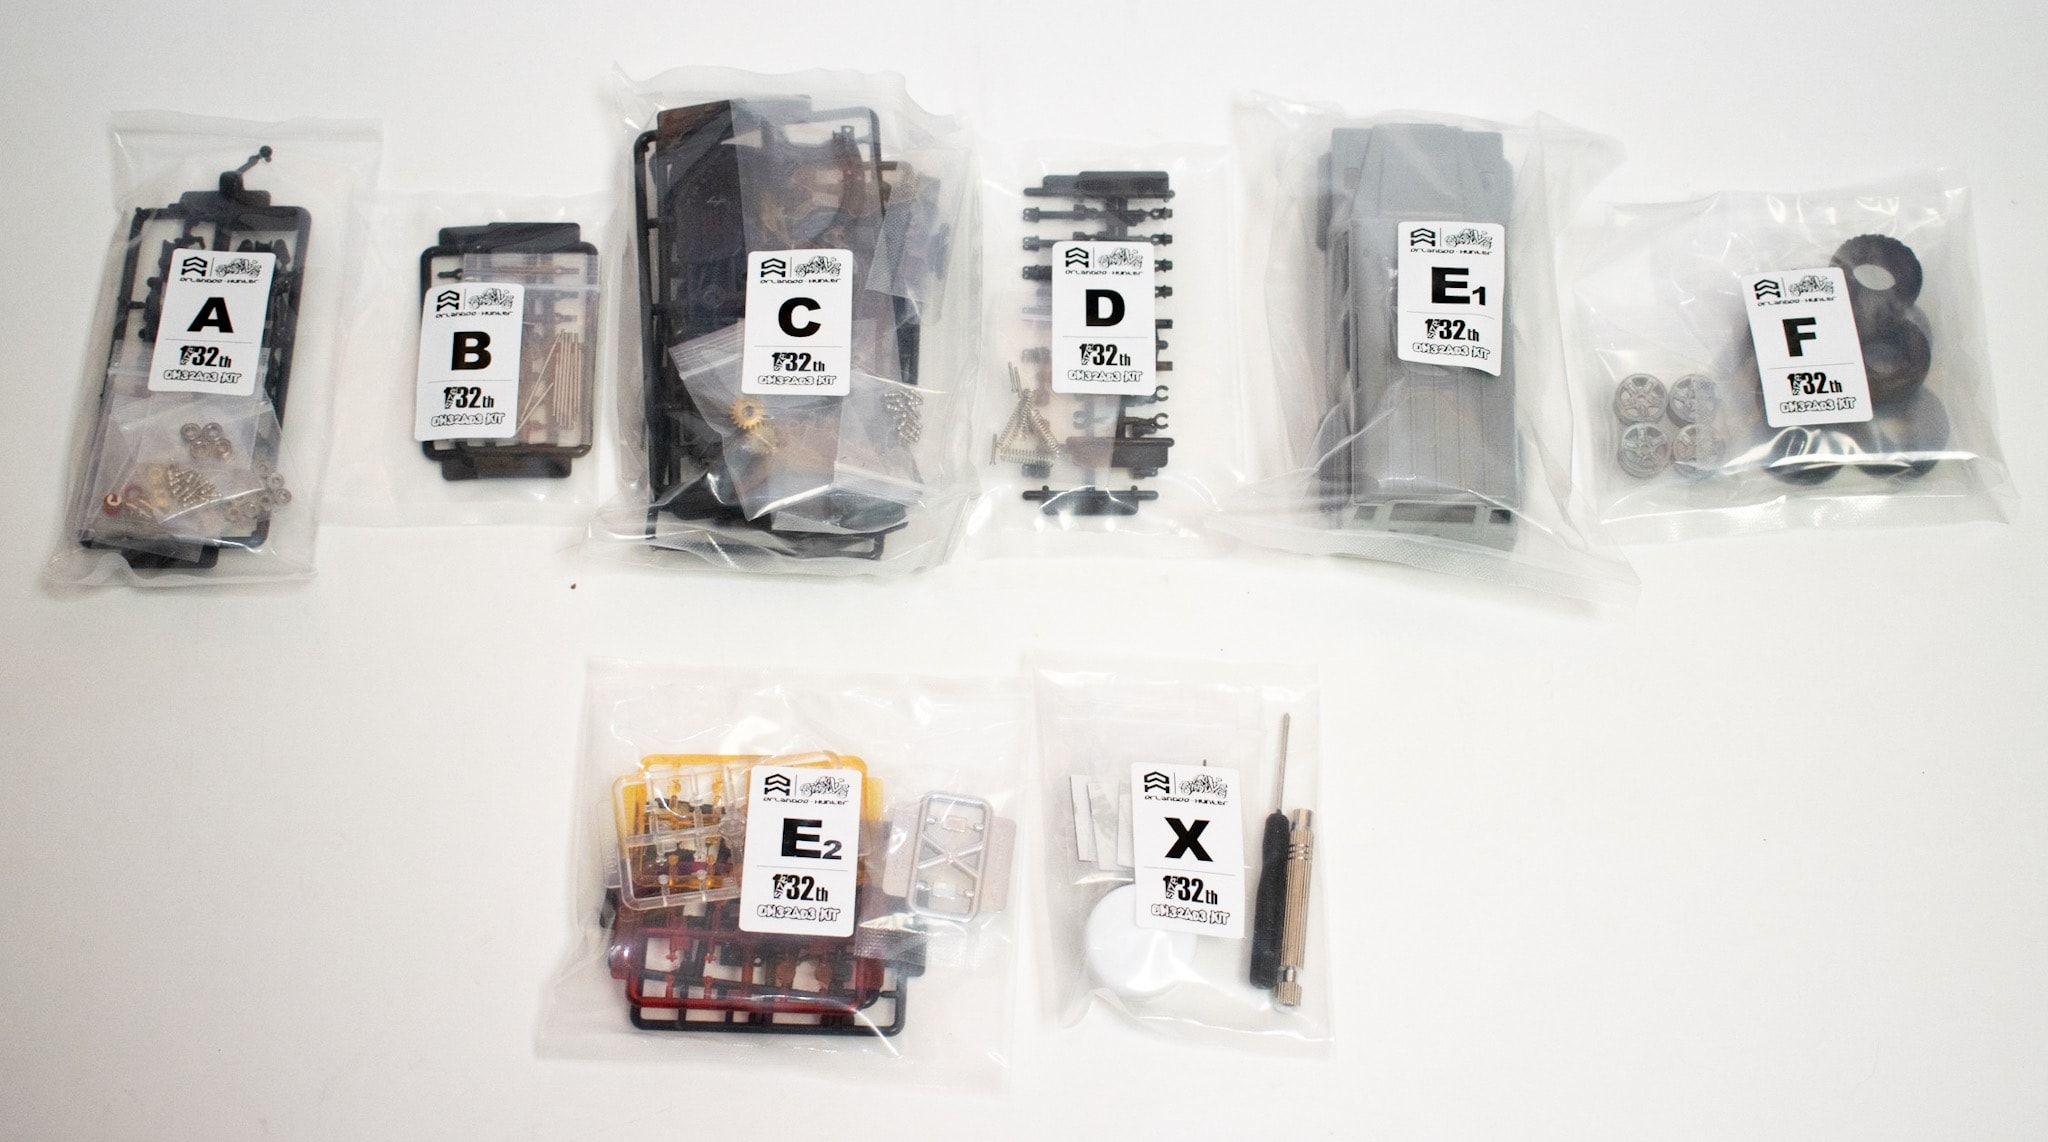
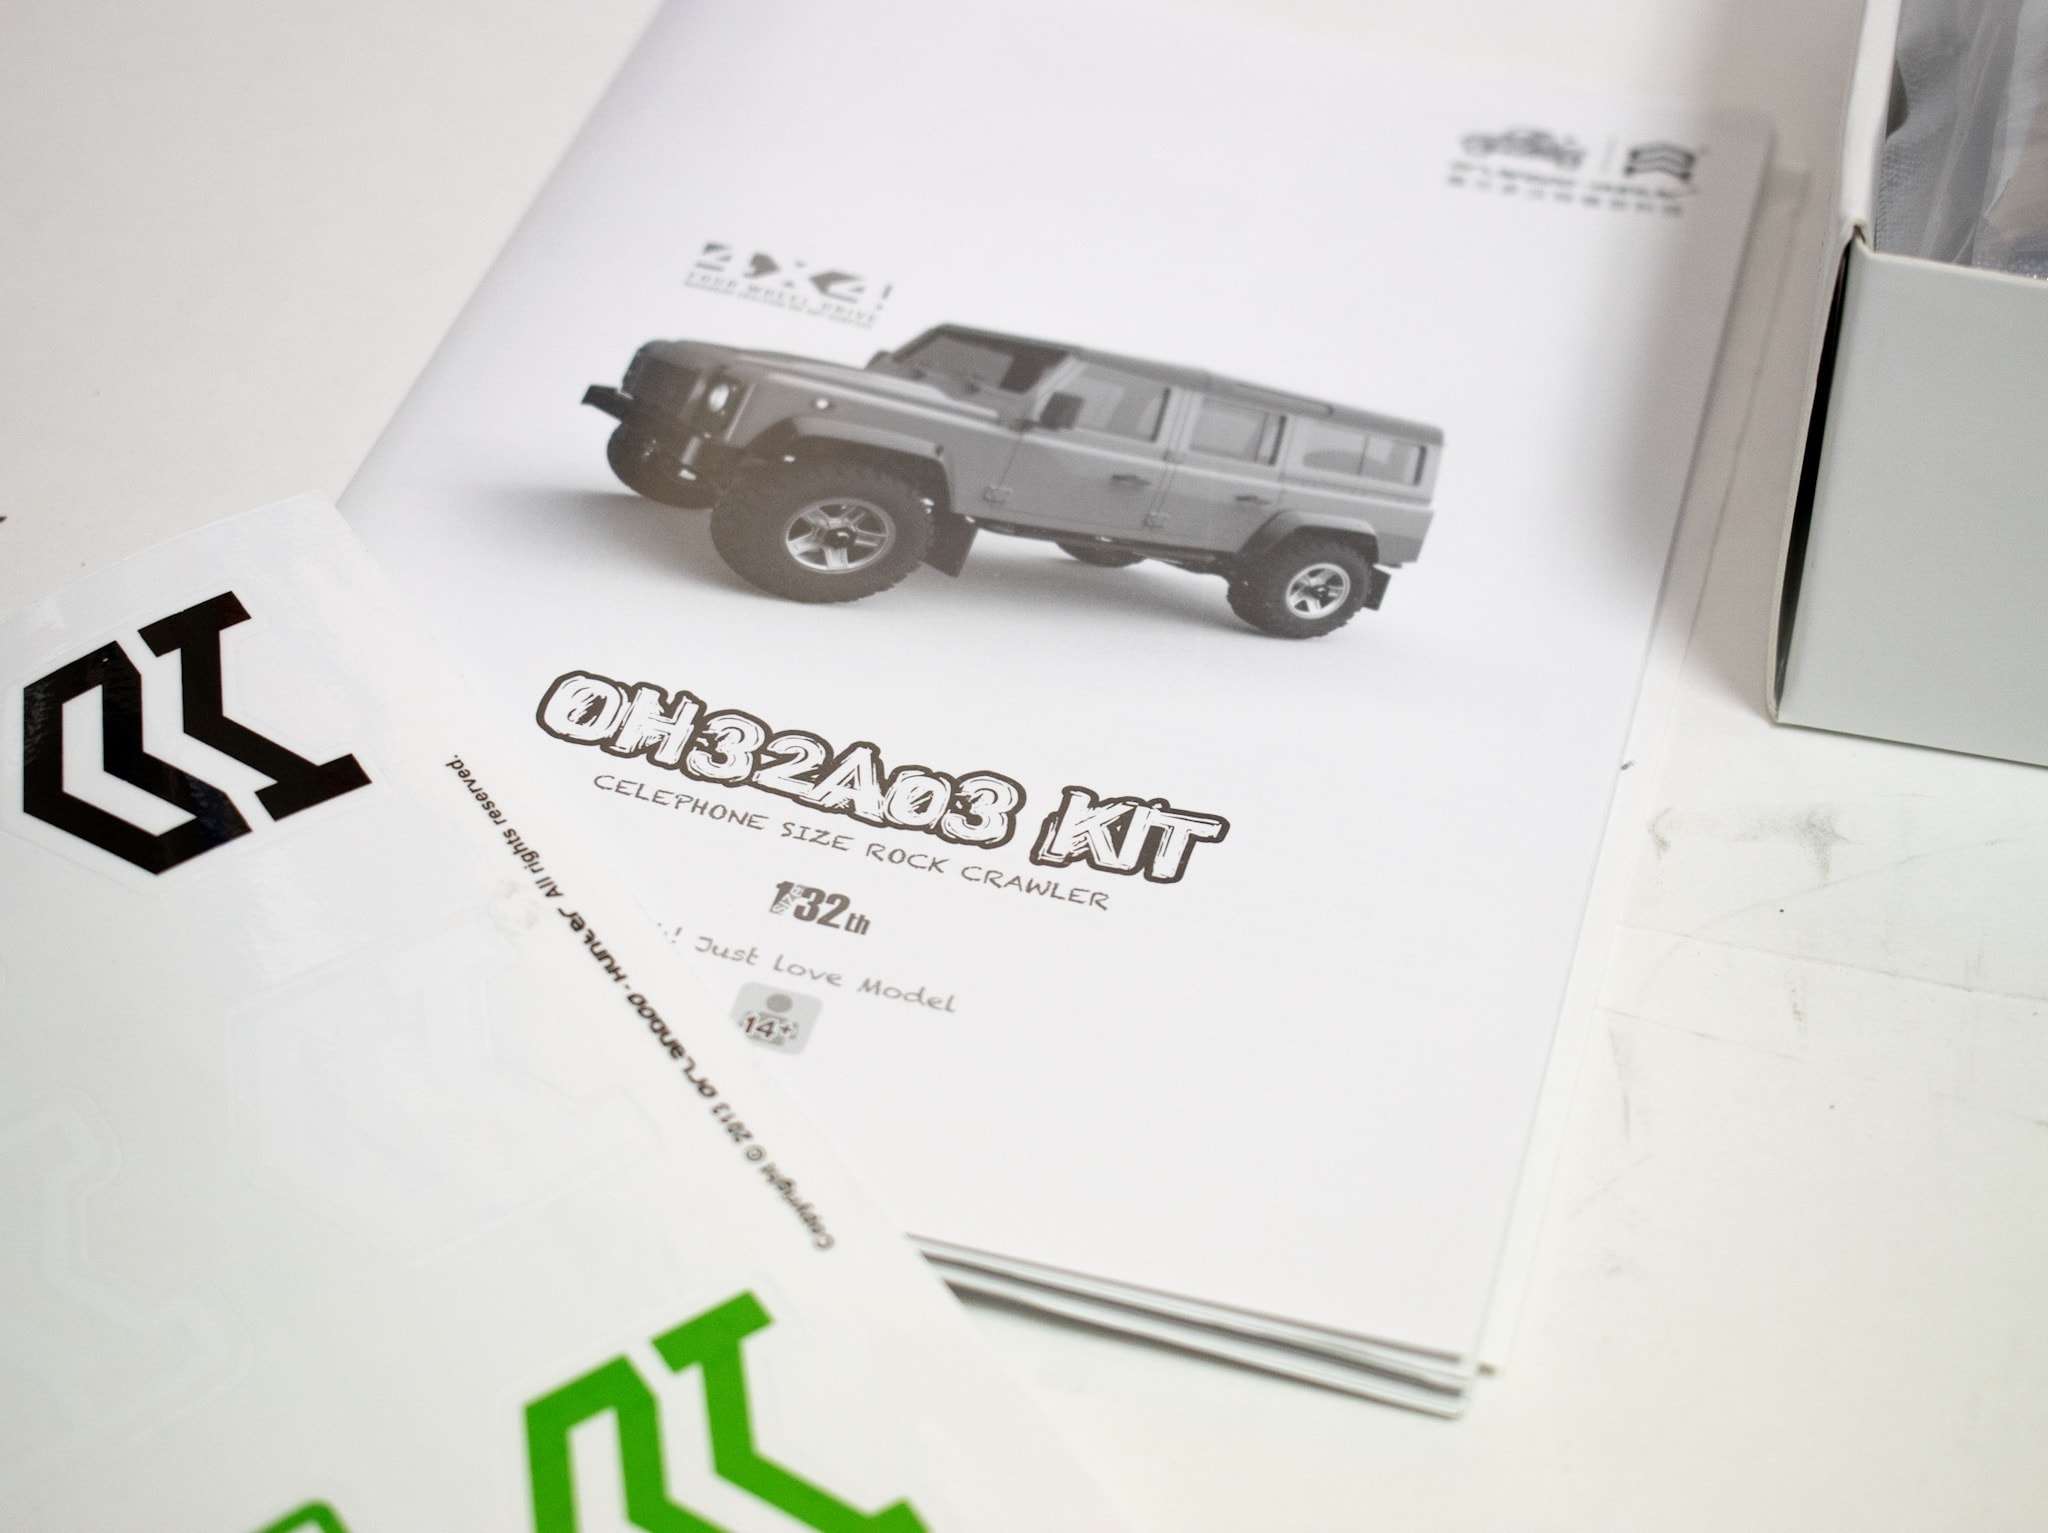
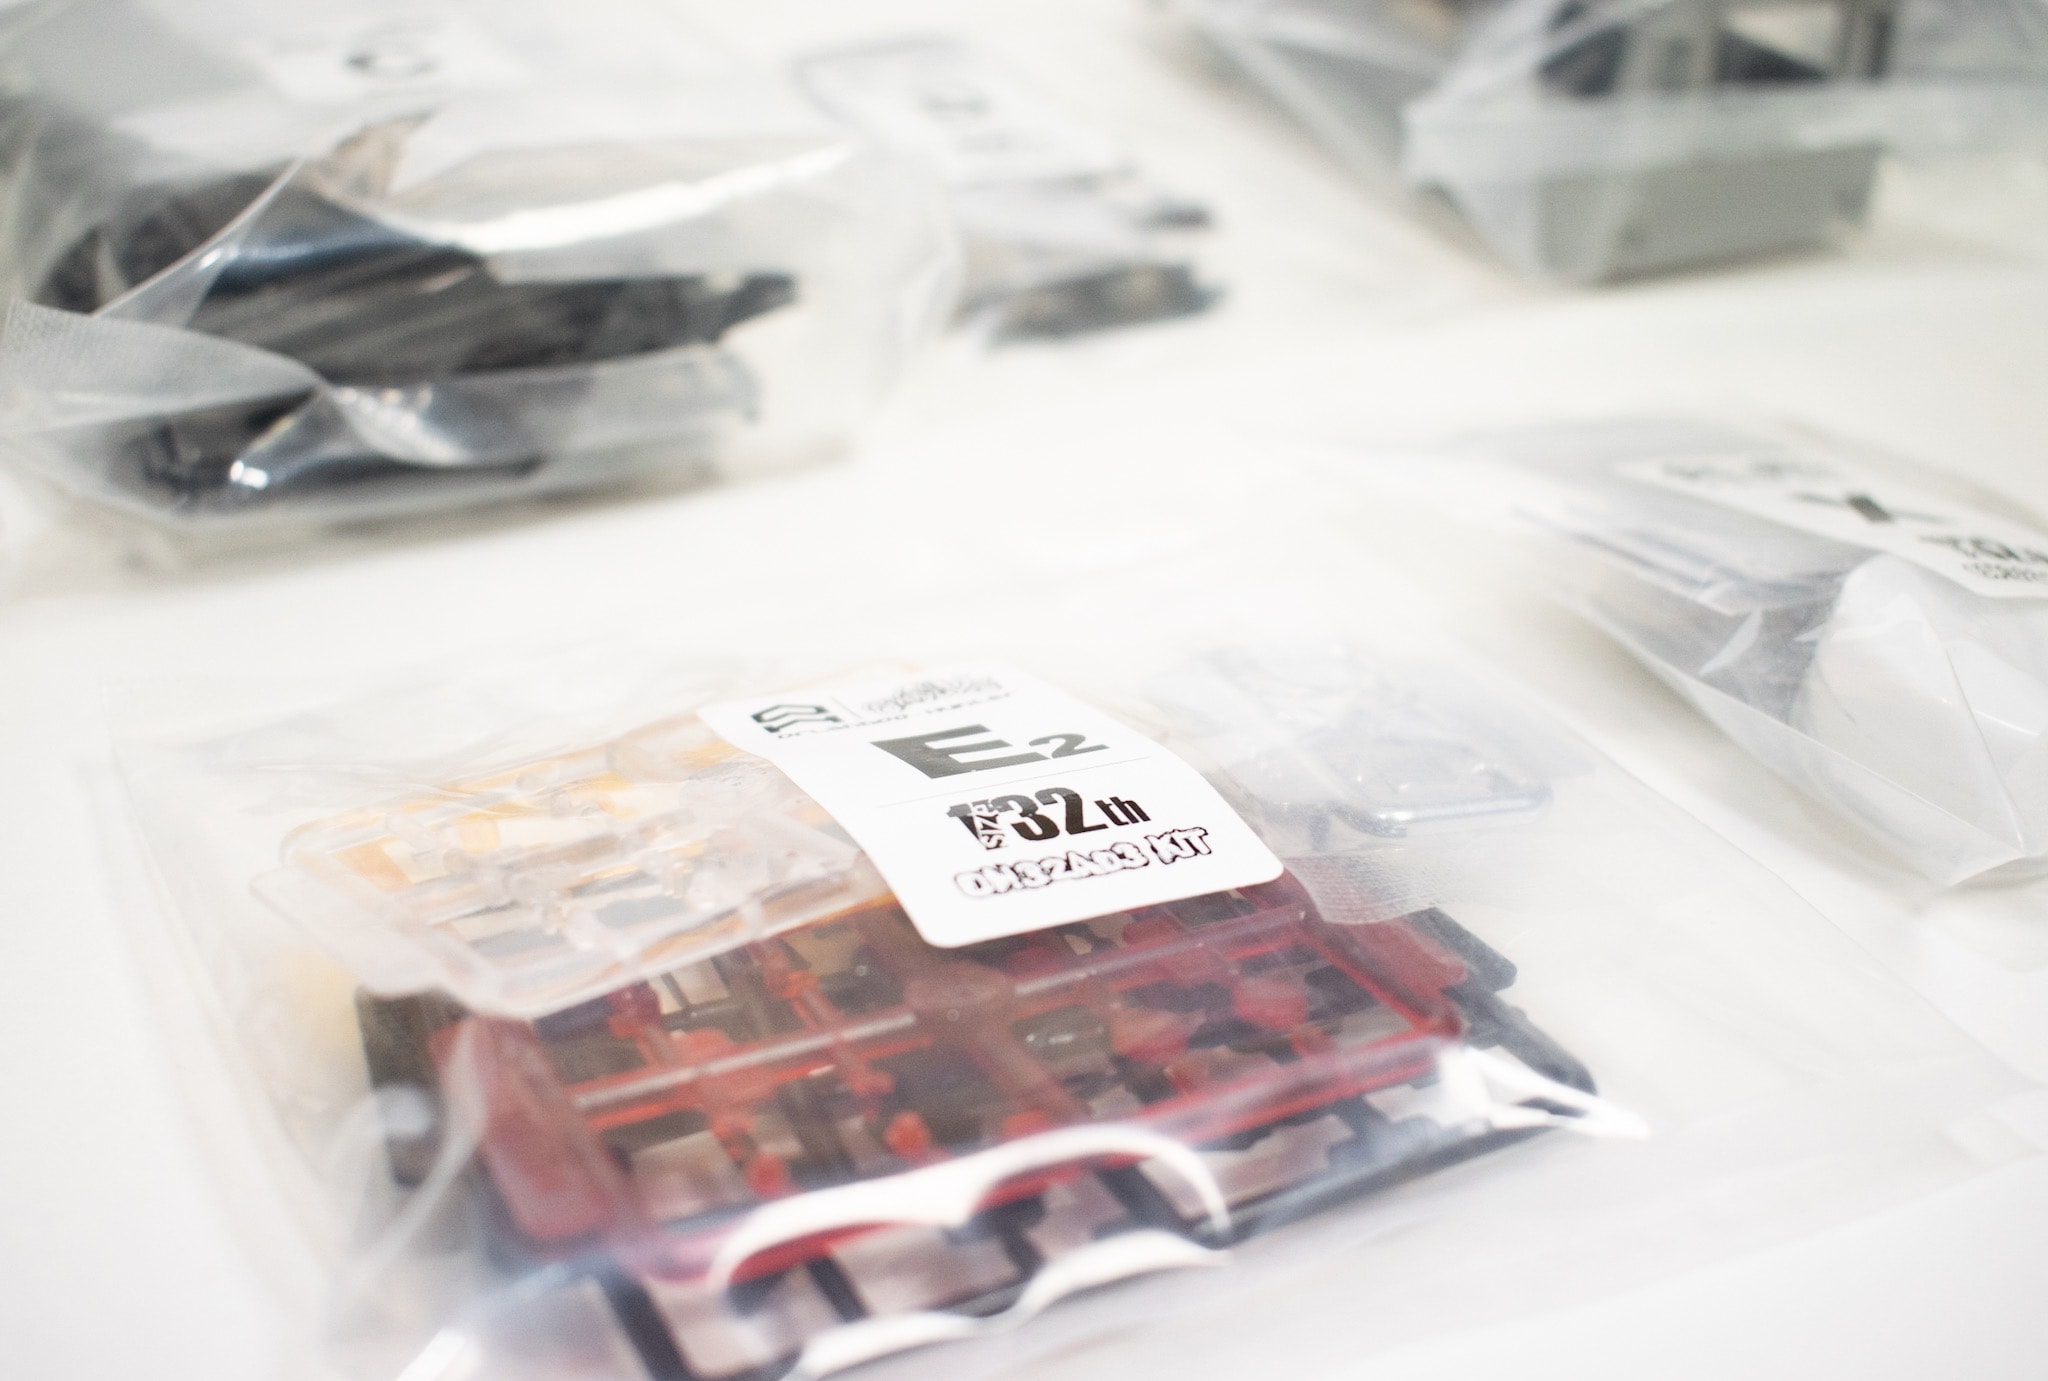
The Orlandoo Hunter OH32A03 parts bags and assembly manual are well laid-out and easy to navigate. Each section of the build corresponds to an appropriately-lettered bag which contains all of the parts and pieces you’ll need for that section. There are a few exceptions but for the most part, you won’t need to do much parts hunting during your build.
Now that we’ve covered the basics, it’s time to tear into some bags and start assembling an OH32A03. I’ve laid out the build breakdown below so you can follow along as I work through the project:
